
How to Inexpensively Start a Podcast: Equipment and Software
When people think about starting a podcast, they believe that they need something that’s super duper professional and expensive. That’s truly not the case.
Back in 2012, Pat Flynn was one of the first to share his setup for his award winning podcast.
That post was just over 4 years ago.
In this first of three posts, I’ll be sharing with you my setup for starting a podcast. It includes reviews from two other sources, Pat’s tutorial, and Chase Reeves of Fizzle.co, as well as what I’ve found on my own after 50+ episodes of doing the AoL Podcast.
Please note that there are Amazon affiliate links in this post!
If you want to get better deals or aren’t an Amazon Prime member, you can always check and see what you can find on eBay. However, if you’re on a schedule and you need to start as soon as possible, you might want to buy new from Amazon. I had to send several items back in the process of setting up my show. Took me a few weeks longer than I would have liked.
Most people who want to start a podcast these days will more than likely stumble onto Pat Flynn’s podcast tutorial.
It’s a great tutorial. In fact, I used it to get started on the first podcast I produced. But as with anything on the web, time passes and things needs to be added to or altered in some way.
Pat’s done a great job in changing it up since he created it in 2012, too. There’s tons of great information there that I think will prove beneficial to you!
However, one thing that many podcasters who are just starting out might not have is an abundance of money to pay for everything that Pat recommends in his tutorial.
Let’s Start with the Mic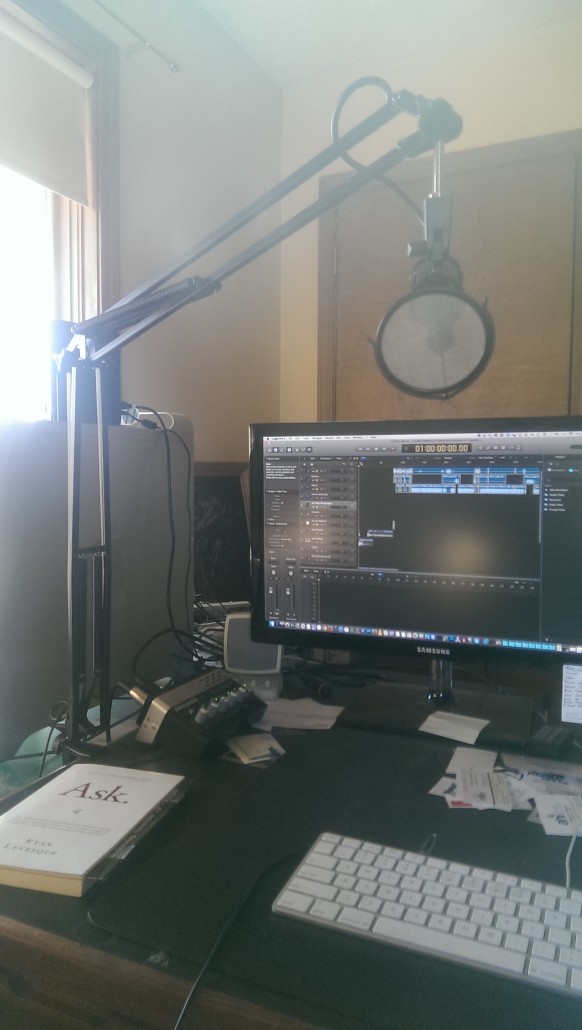
Take for example, his recommended microphone, the Heil PR-40. It sounds great! But, it costs $300 or more depending on where you get it. Whereas the mic that I found via Fizzle’s Chase Reeves Microphone Shootout, the Audio-Technica AT875R, was $169.
When you factor all the additional hardware pieces that you have to get for each setup to get to the point where you’re ready to hit the record button, Chase’s “Best Buy” solution comes out to about half the price.
And, in my opinion, if you listen to the Fizzle Show, you can hear that it produces great quality.
Here are the two videos for you to compare even more. Pat’s is very too the point, where Chase’s Shootout is very technical – almost MythBuster like!
Check it:
Pat’s Podcast Tutorial Video 1: Equipment and Software
Podcaster’s High Quality Microphone Shootout:
Beginner’s Best Buy:
By the way, if neither of these mics are in your price range, a really great option that sounds pretty decent (if you tune it correctly), is the Audio-Technica atr2100 for $79. It’s a USB AND XLR compatible mic that I have many folks grab as their first mic. The great thing about it is that you don’t need a mixer for it to work. You can just plug it in via USB like many mics you might be already used to.
Other Hardware
Mixers:
The mic isn’t the only piece that you’re going to need to get started. In fact, both of the ones that Chase and Pat recommend need what’s called a mixer.
You heard me also mention XLR – this is where that comes into play. It’s the three pronged connection type you see most professional mics have. It’s an old analog connection. Meaning if you go with a professional mic, you’ll need a mixer.
Pat’s mixer for his tutorials was the Behringer Xenyx 1002FX, priced at $90. What Chase recommended for Fizzle members was the Mackie Onyx Blackjack, priced at $99. (I got mine used from eBay at $80.)
Arm Thingy / Stands / Booms:
Along the mixer and the mic, you’ll also need that arm thingy. These are called boom stands, and you’ll need to order one for where you intend to use it. As you saw in Pat’s video, there are booms that are specific for certain mics, but there’s also generic ones.
The generic one I got was this one at a whopping $13. It gets the job done.
In contrast, Pat’s Heil boom is $120. Go for it if you “want to be like Pat”.
Oh and there are taller ones if you want to stand up or while doing some video work (you can use the same mic over your head). I got this one by Griffin for my course videos sometime down the line.
Headphones:
Now, this is something that Pat didn’t talk about in his hardware piece. It looks like he had some sort of Beats headphones, but not being super familiar with that brand before it was bought by Apple, I went with what Chase recommended in one of the videos inside of Fizzle:
Sony MDR7506 Professional Headphones
If you see a better deal on eBay and they’re from China, don’t be afraid to get them. Just remember that it might take up to three weeks for them to come in vs 3-5 days with Amazon.
A Headset Option:
When I first started my podcast, I thought that my Turtle Beach gaming headset would be good enough for me to use when I’m podcasting. Unfortunately, I realized practically right away that the quality I was getting was horrible. That’s when I started looking to see what others used.
Eventually, though, I wanted to give myself a traveling option. So, when I realized that Lewis Howes uses a headset for his interview, I had to find out what it was. Here it is:
Audio Technica BPHS1 Broadcast Stereo Headset
Needless to say, I don’t use this option all the time because I use my permanent set up with the boom and at875r. However, it has proven to be a great asset when I’ve had to be on location.
Computer:
Now, this is something that neither Chase nor Pat talked about in their review because they probably think you already have one of these.
However, the truth is that they both use Macs to do their work. You can tell in Pat’s tutorial he uses Garageband (I’m not sure what he has his editor use now these days) and Chase uses Logic Pro X. We’ll get to those in a minute.
If you’re in the market to get whatever’s easiest to do the job, I recommend getting a Mac. The software is just that much easier to work with.
Where do you get an Inexpensive Mac?
Not at the Apple Store!
First, let’s just get one thing straight. I don’t ever by brand new technology unless I’m forced to.
That means computers just as much as it means cars.
The only way I’d pay for an expensive new piece of tech is if it was a custom piece. A custom computer… or a custom car. Like a Tesla.
If you listen to Dave Ramsey or Robert Kiyosaki, you know that technology and cars are not assets, they are liabilities. So buy them as low price as possible.
That said, a great site to buy used Macs from is GainSaver. They generally get their older macs from offices or colleges that always have the newest and best gear.
Personally, I have a 2010 Mac Pro (Model: MC561LL/A) that I do most of my work on and it runs like a champ. Also, I don’t have to worry about it overheating with intense use. Many people primarily use Macbook Pro’s for all their work, but I had two of them burn-up in the same year.
So, I primarily use my laptop for small projects and browsing the web.
Also, you might be wondering why I don’t have a newer Mac Pro? Here’s an image to show you why:
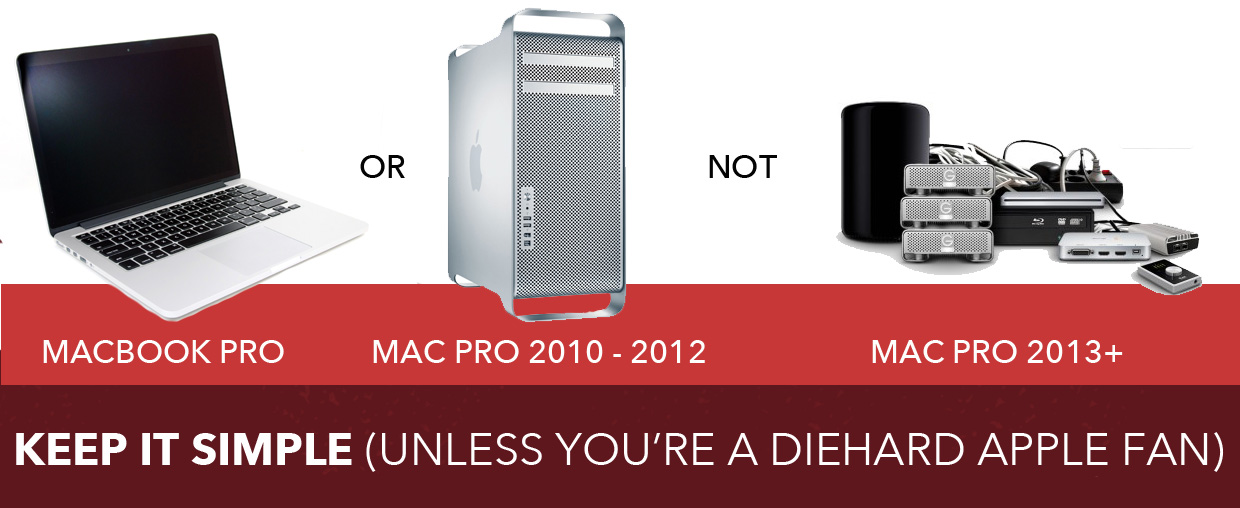
I’m not sure about you, I don’t need all that junk cluttering up my desk.
Speaking of Upgrades
If you want to upgrade one of the computers on Gainsaver (or Apple’s site for that matter), you can do that. But just like at popcorn at a movie theatre, they’re going to charge you even more than you’d expect
Recommendation? If you’re somewhat technically gifted (meaning that you’re the go-to person in your family that everyone comes to tech help), or have access to someone who is, go to a site like Other World Computing, find out what you need for your specific model, go over to eBay, and find it for a great deal.
RAM and hard drives are CHEAP compared to just a few years ago!
Best names in memory as of this writing is Kingston and Crucial. In hard drives, they’re HGST and Western Digital.
And they’re really easy to install in a Mac Pro. I promise.
Editing and Recording Software:
Mac Options:
Ok, so moving back to software.
If you go with a Mac, you get Garageband for free. It’s a great little app and frankly, really all you need for conversations. Your show’s quality won’t sound like The Fizzle Show, but it might sound like the early shows of SPI.
Nothing wrong with that!
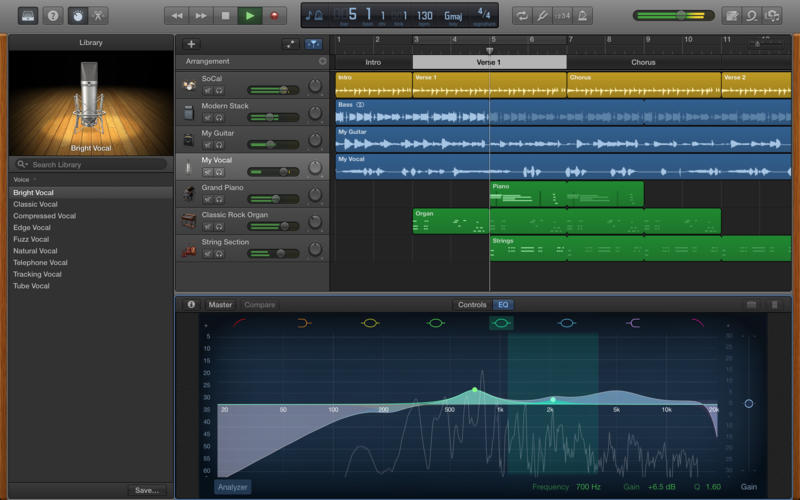
Let me tell you, as a beginner, Garageband (which is free with a Mac) is much easier to use than Logic Pro X is. The reason I use Logic now is because I see it as a personal challenge. I see it as a skill and artI want to develop. And, as of this writing (at almost 60 episodes), I’m still learning what I need to know to produce a show that sounds great.
If you don’t want to go through that process, go with Garageband.
PC Options:
If you go with a PC, there’s a couple of options I know of. One is a free app called Audacity (which I use for different things time to time) and a more professional option is Adobe Audition.
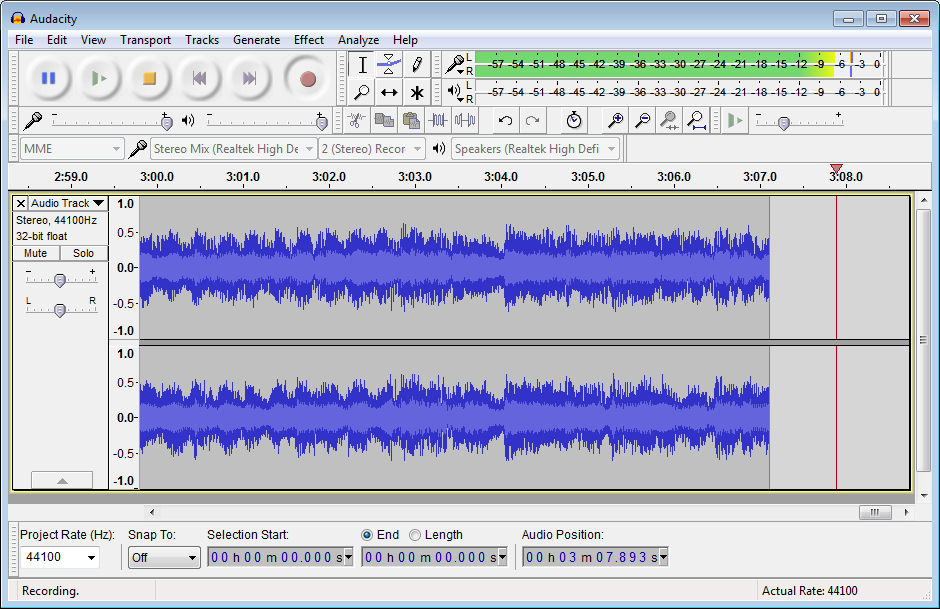
While Audacity isn’t my go to application, you can get the job done with it.
As far as Audition goes, I personally don’t know too much about it. But with everything else, you can always find out how to use it via YouTube.
Recording with Guests and/or remote co-hosts
Now, if you find yourself hosting an interview based show, then you’re going to want to consider a few more pieces of software because you can’t do everything you want to do with what I’ve already discussed.
In fact, before you go editing with the other programs, you’ll need to record with what I’m about to tell you.
To record online for free, you’ll want to use Skype.
You can have multiple people on and the sound quality is pretty decent compared to other options – like YouTube Live, Hangouts, or Facebook Live (I’m not even entirely sure if that’s possible – but it might be!)
Skype has been around for years. That means that there’s plenty of other apps that you can plug and play with it – which, in this case, you’ll need to do to actually record.
Another option is Zencastr if you want to keep things super basic (but don’t mind the compression that any online recorder will render on the raw audio/video).
Mac Skype Recorders:
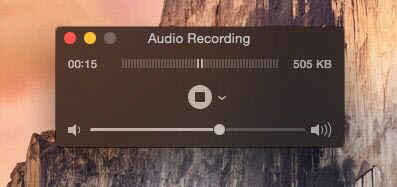
You have two options here. And honestly, I use them both when I’m recording. The first is another free app that comes on Macs only – Quicktime.
Most people know that this can play video files that are on their computer. But what they might not know is that it can actually record screen recordings (webinars anyone?) and whatever is spoken into the mic.
Great little tool to have.
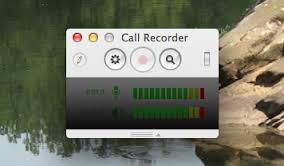
The only problem is that it doesn’t record what’s coming from the other side of the conversation. So for that, you’ll need another application called Ecamm Call Recorder for Skype.
It’s pretty straightforward, once you have it installed. Just hit record when you’re about to start and then hit stop when you’re done. Same with Quicktime’s audio recording.
PC Skype Recorders:
Ok, so I’m going to admit that the reason that I’ve never had a PC is just the complexity that many apps have to do something that it’s fairly simple to do on a Mac.
In this case, you’re going to need to get a program called Pamela. Like the Ecamm Call Recorder, you install it and it’s pretty close to being ready to go. However, the default settings are not set up in a way that would benefit you as a podcaster. To do that, you’ll need to set the recordings to stereo as well as change the format it records in. Here’s a video to do just that. Pamela currently retails at just under $28.
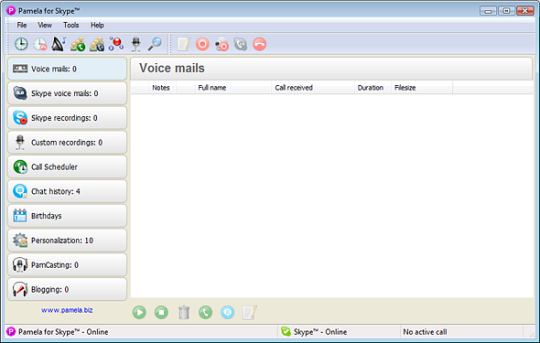
Also, something else to note is that from what I understand, PC’s can only record in one application/program (sorry, I use those words interchangeably!) at a time. So make sure that Pamela is working before you start your show!
Action Steps
If you’ve decided that you actually are starting a podcast, here is my call to action for you this week:
- Get a feel for how much you’re going to want to spend on this project. With a new Mac Pro (or Macbook Pro), that budget might be upwards of $1800 – $2000. But that Mac Pro will be useful for everything else in your business AND you can list all of this as tax write offs for the year. (Be sure to get at least 2 monitors if you don’t have them already.)
- Make a list of the parts that you need yet to get your podcasting show started on the hardware and software side of things. Think of it as a grocery list.
- Get stuff ordered.
- Start putting it together and experimenting with it
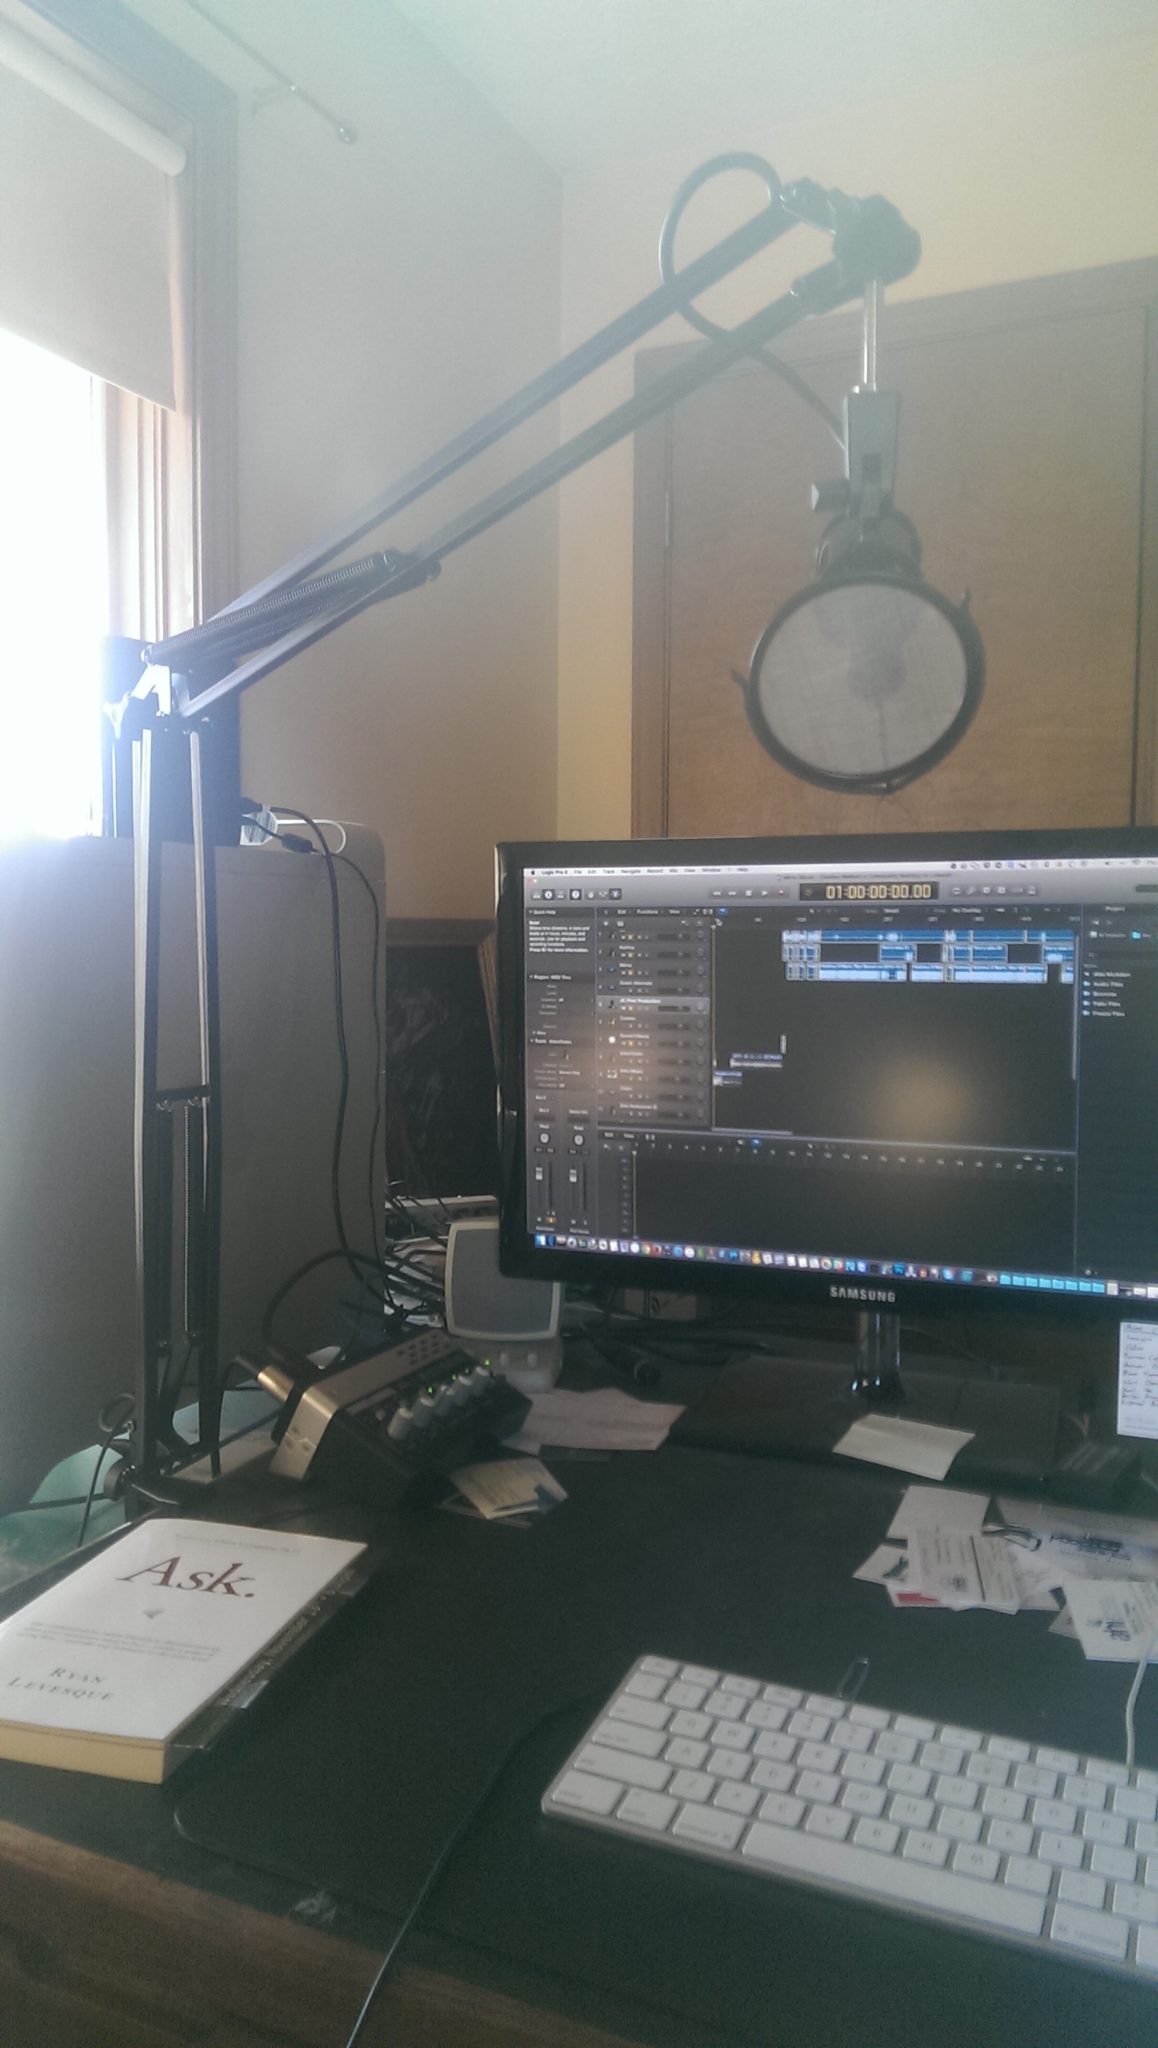
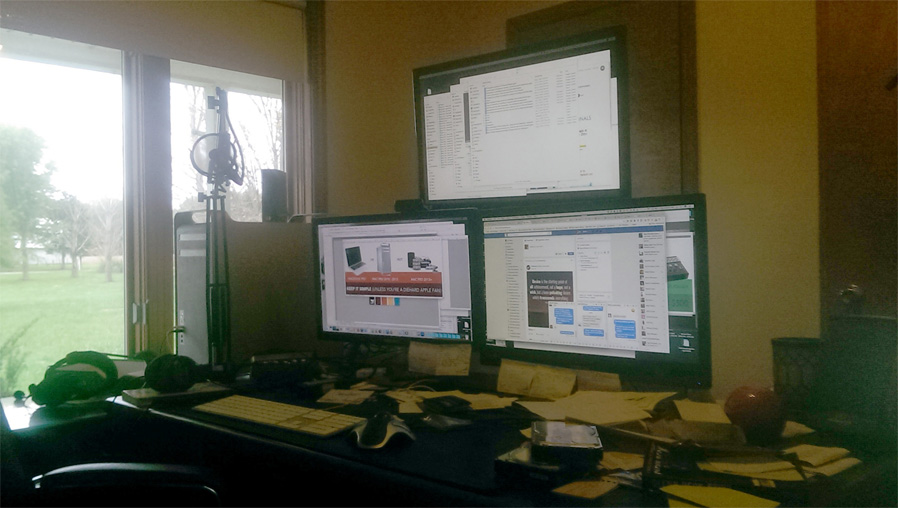
It’ll end up looking something like this… (depending on how many monitors you get):
To be Continued…
Ok, so that’s it for part 1 of this 3 part series.
Next week, in part 2, I’ll continue with a few recording tips that have either changed or weren’t covered in Pat’s 2012 tutorial. I’ll be sure to include some of the more detail stuff that I have to do to get a podcast produced and ready to go out the door.

Leave a Reply
Want to join the discussion?Feel free to contribute!